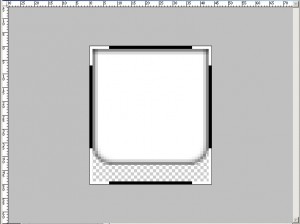
The 9 patch image is easy to make. First create your image as usual, it can have transparent areas as well. When ready, enlarge the image with 2 pixels on width and two on height, so you get a perimeter border of 1 pixel size. Use black and white to define areas that should not be stretched (white) and stretchable areas (black):


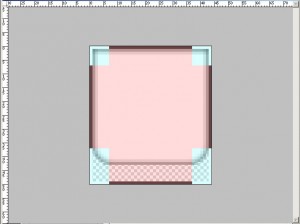
See the pictures above, they represent the editview background. You can see the corners are marked with white and the rest with black, so when stretching the corners will keep their aspect while the rectangular areas will stretch unaffected, and the aspect will be perfect . The second picture uses blue and red to highlight the stretchable area (red) and the non-stretchable area (blue).
Please note, that when saving a 9 patch file, you’ll need to place it in the resource folder and name it like this: filename.9.png . When using it you will refer to it as filename.
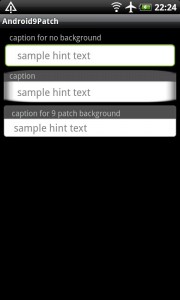
See this sample for a better understanding:
Android9Patch


Great article.
Here is a link to my blog that provides free 9 patch PNGs for your android projects:
http://android9patch.blogspot.com
Great job, Richard, thanks for providing those images. Hope you’ll find the time to make more.
Radu,
I have uploaded a few more packs, you will find the last one to be excellent IMO. I’m getting the hang of this slowly 🙂
Enjoy!!!
Looks good, keep up the good work.